ContiMech
Robotics & Automation Engineering

Workflow / Capabilities / Mechanical process

Mechanical engineering · process deck

Mechanical process deck

One slide — one decision. A discipline workflow from requirement to released mechanical sample, with a clear CAD toolchain.

Slide 1 of 10 10%
Slide 01 · Overview

Route

Requirement → concept → prototype → test → release. Each block has clear input, loop, and output.

InputNeed, space, loads, interfaces.
LoopModel, build, measure, correct.
OutputSample, report, handover data.
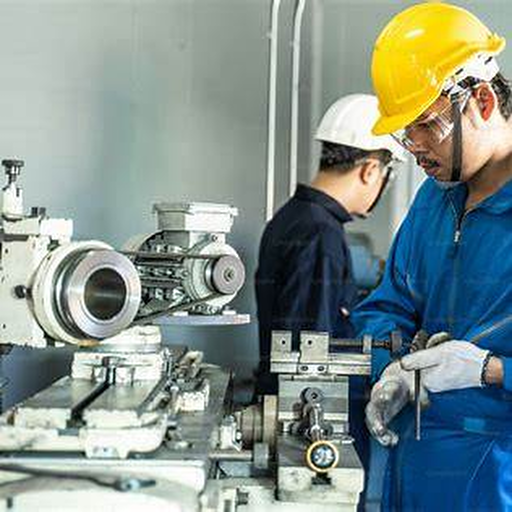
Machine-shop scene with engineers working on a mechanical machining setup
WorkflowMechanical workflow in practiceFrom requirement to release, the mechanical route combines concept work, prototype iterations, production checks, and release evidence.
Slide 02 · Definition

Requirements

We define what the mechanical part must solve before CAD starts.

  • Function and acceptance criteria.
  • Space, interfaces, loads, environment.
  • Assembly, service, and access constraints.
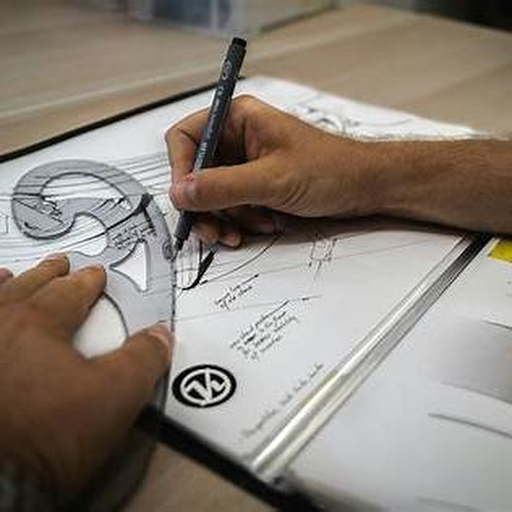
Engineer sketching a mechanical concept and marking dimensions on paper
Gate ARequirements before CADFunction, space, loads, interfaces, and access rules are clarified before detailed modeling starts.
Slide 03 · Definition

Engineering alignment

Mechanical decisions are aligned with hardware and system engineering.

MechanicalGeometry, material, production.
HardwareBoards, connectors, heat, cable paths.
SystemUse case, limits, risks.
Prototype enclosure with electronics area prepared for mechanical and hardware alignment
AlignmentMechanical, hardware, system togetherGeometry, electronics packaging, cable paths, service access, and system constraints are aligned as one design task.
Slide 04 · Definition

Technology and concept

We select the production route and make the idea reviewable.

Sheet metalPlastic3D printWood mock-upMillingTurning
Model2D / 3D geometry and interfaces.
PlanTest plan and rough cost envelope.
Workshop environment illustrating concept selection and early fabrication thinking
ConceptTechnology route is selected earlyWe choose the right production path — sheet metal, plastic, 3D print, wood mock-up, milling, or turning — before spending money on the wrong build.
Slide 05 · Prototype

Low-cost prototype

A cheap prototype removes risk before final material cost appears.

  • Wood mock-up for large geometry.
  • 3D print for small parts.
  • Fast fit and handling checks.
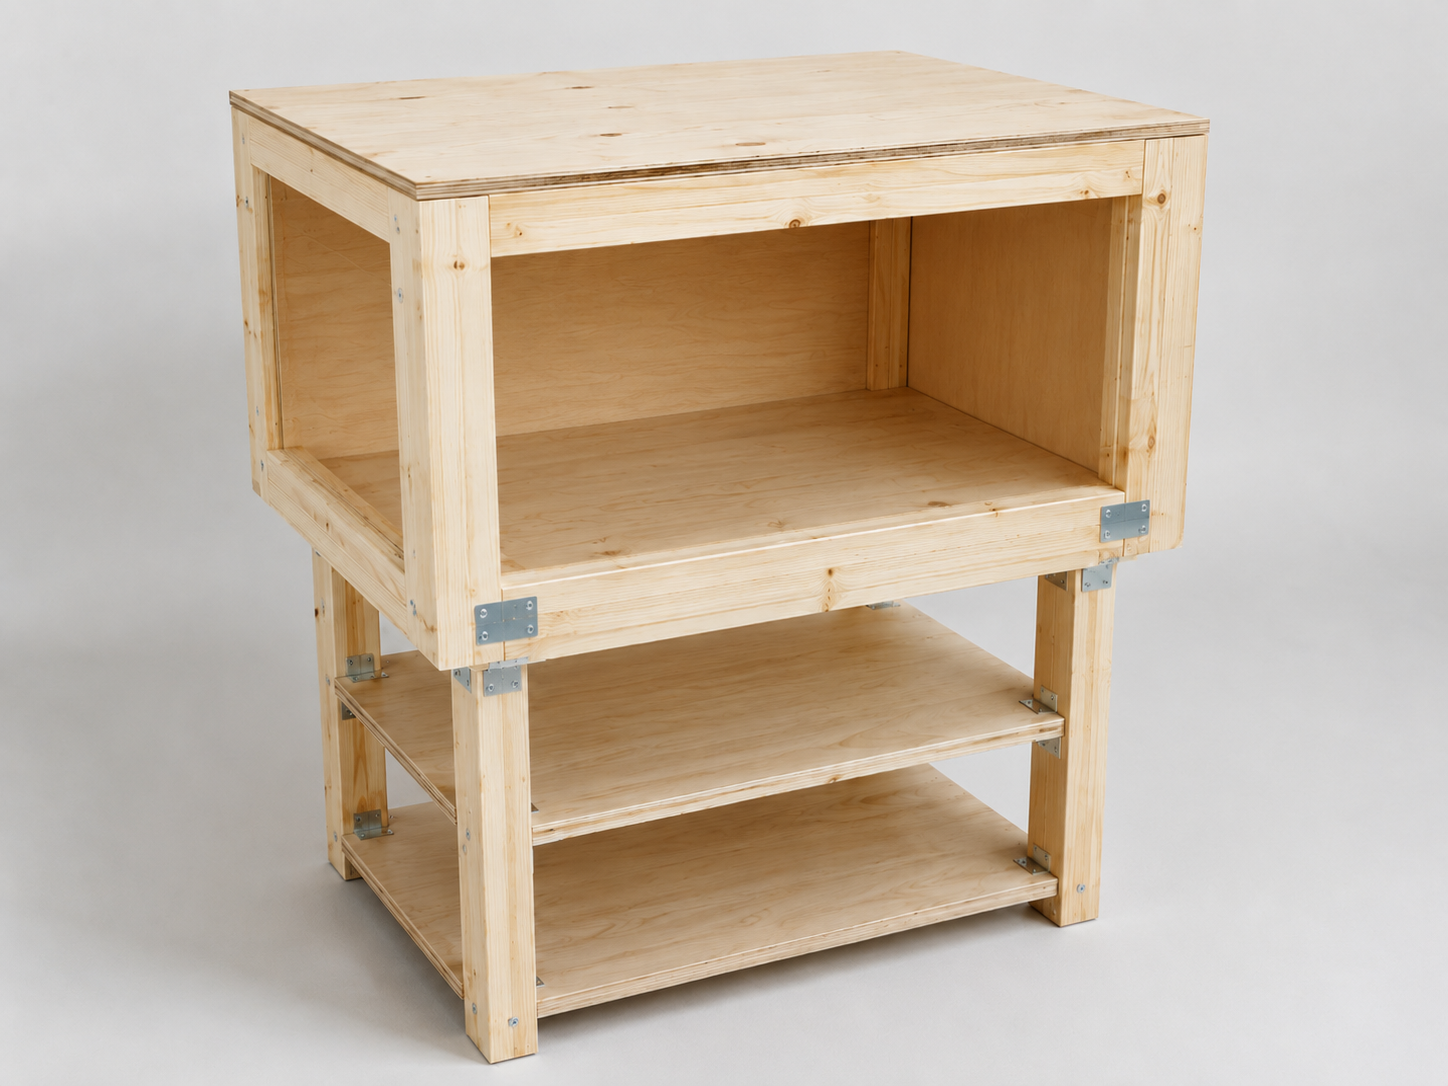
Wooden prototype cabinet used for low-cost validation of layout and routing
PrototypeLow-cost prototype firstFast wooden or printed samples reduce risk early and expose fit, handling, and service issues before the final material route.
Slide 06 · Prototype

Integration and measurement

The prototype is checked with real hardware constraints, and measurements replace assumptions.

FitMounting and dimensions.
AccessAssembly and service paths.
CablesRouting and connector space.
  • Check actual dimensions against CAD.
  • Record deviations and root causes.
  • Keep photos, measurements, and issue list.
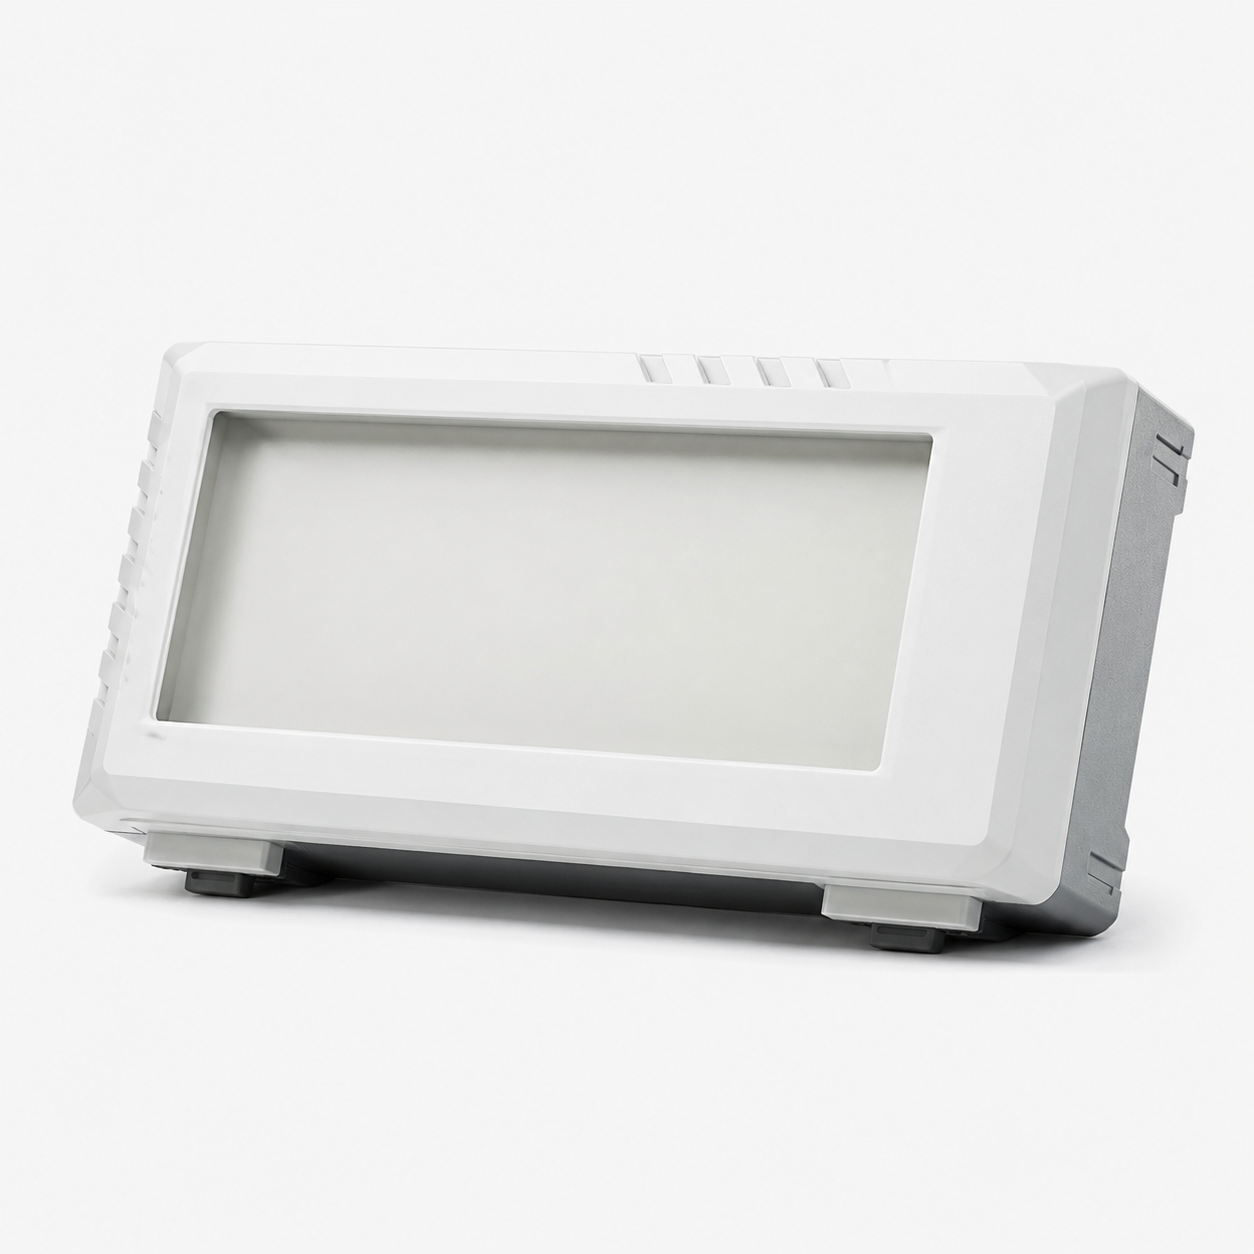
Plastic enclosure prototype used for fit-check and integration validation
IntegrationFit and packaging are measuredReal dimensions, internal fit, mounting, and assembly access are checked on the sample instead of being left as assumptions.
Slide 07 · Prototype

Correction gate

Findings go back into CAD, drawings, and prototype updates until geometry and integration are proven.

MeasureCorrect CADRebuild if needed
OKMove to real material.
Not OKReturn to correction loop.
Prototype enclosure revision loop for correcting geometry before tooling
Gate BCorrections go back into CADMeasured issues are closed in the model, drawings, and sample updates until geometry and integration are proven.
Slide 08 · Release

Final sample

The validated design is manufactured in real material.

  • Supplier route is confirmed.
  • Final quote replaces the rough estimate.
  • Sample is assembled for testing.
Final aluminum cabinet manufactured after prototype validation
ReleaseValidated design, real materialAfter the prototype loop is closed, the product moves into the actual manufacturing route and a release-ready sample is built.
Slide 09 · Release

Test and fix

The final sample is checked against the test plan. Findings are corrected and re-checked before release.

TestExecute agreed checks.
FixCorrect findings and re-check.
Industrial cabinet prepared for inspection, testing, and correction
TestingTest, fix, re-checkThe final sample is inspected, tested against the agreed plan, corrected if needed, and only then accepted for release.
Slide 10 · Handover

Handover package

The client receives the sample and the data needed to use or reproduce it.

DesignModels and drawings.
EvidencePhotos and test report.
ProductionBOM, supplier notes, cost.
Handover of engineering documentation between two people
HandoverSample plus release packageThe client receives the sample together with models, drawings, reports, photos, BOM data, and manufacturing notes.
Case C1 · Rapid validation prototype

Wooden prototype cabinet

The client needed a fast and low-cost way to validate equipment placement, cable routing, service clearances, and reserved footprint before moving to a metal build.

Client requestPrototype the layout, shelves, and routing paths first; measure real distances and gaps; reduce risk before metal fabrication.
Build conceptPine boards, plywood panels, and metal corner brackets, sized roughly like a work table, with open shelves for equipment and routing checks.
  • We designed a fast mock-up cabinet and defined the main equipment zones and routing logic.
  • The prototype was manufactured by our partner team and assembled by us in our office.
  • We used the wooden unit to place equipment, verify real clearances, and test cable paths before creating the metal version.
Customer benefitAbout 80% lower prototype cost compared with going directly to a metal version.
Lead timeAbout 4 days instead of roughly 17 days for a first metal iteration.
OutputMeasured layout, verified routing, clearer shelf areas, and better input for the next CAD / metal stage.
CAD tools: FreeCAD, Autodesk Fusion, and SOLIDWORKS according to concept, detailing, and release maturity.
Photorealistic prototype cabinet for equipment layout validation
Partner-made prototypeUsed by our team in-office for layout, routing, and clearance validation before the metal build.
Case C2 · Plastic enclosure validation

Diagnostic enclosure prototype

The customer was developing a housing for automotive diagnostic equipment used in an automated tester that verifies ECU integration and operational readiness in vehicle suspension systems.

Client requestProduce a rapid enclosure prototype so the team could place all electronics inside, confirm the internal fit, and check whether anything had been missed before the serial version.
Prototype focusA plastic enclosure with a bench-top form factor close to an oscilloscope, used to validate internal packaging, service space, and assembly feasibility.
  • We created the prototype enclosure and prepared it for internal placement and packaging checks.
  • The customer used it to install the electronics and found a design mistake before the production order.
  • The issue was corrected quickly, and the production mold was then ordered in the correct version.
Lead timeCase implemented in about 2 weeks.
Cost impactAvoided a mold-related mistake worth about 1,700 USD.
Customer benefitSafer transition to production, faster correction loop, and higher confidence before tooling.
CAD tools: FreeCAD, Autodesk Fusion, and SOLIDWORKS, depending on concept maturity, enclosure detailing, and release package needs.
Photorealistic plastic enclosure prototype for automotive diagnostic equipment
Prototype enclosureUsed as a fit-check body for electronics packaging before final production tooling and mold order.
Case C3 · Final industrial cabinet

Bent aluminum cabinet

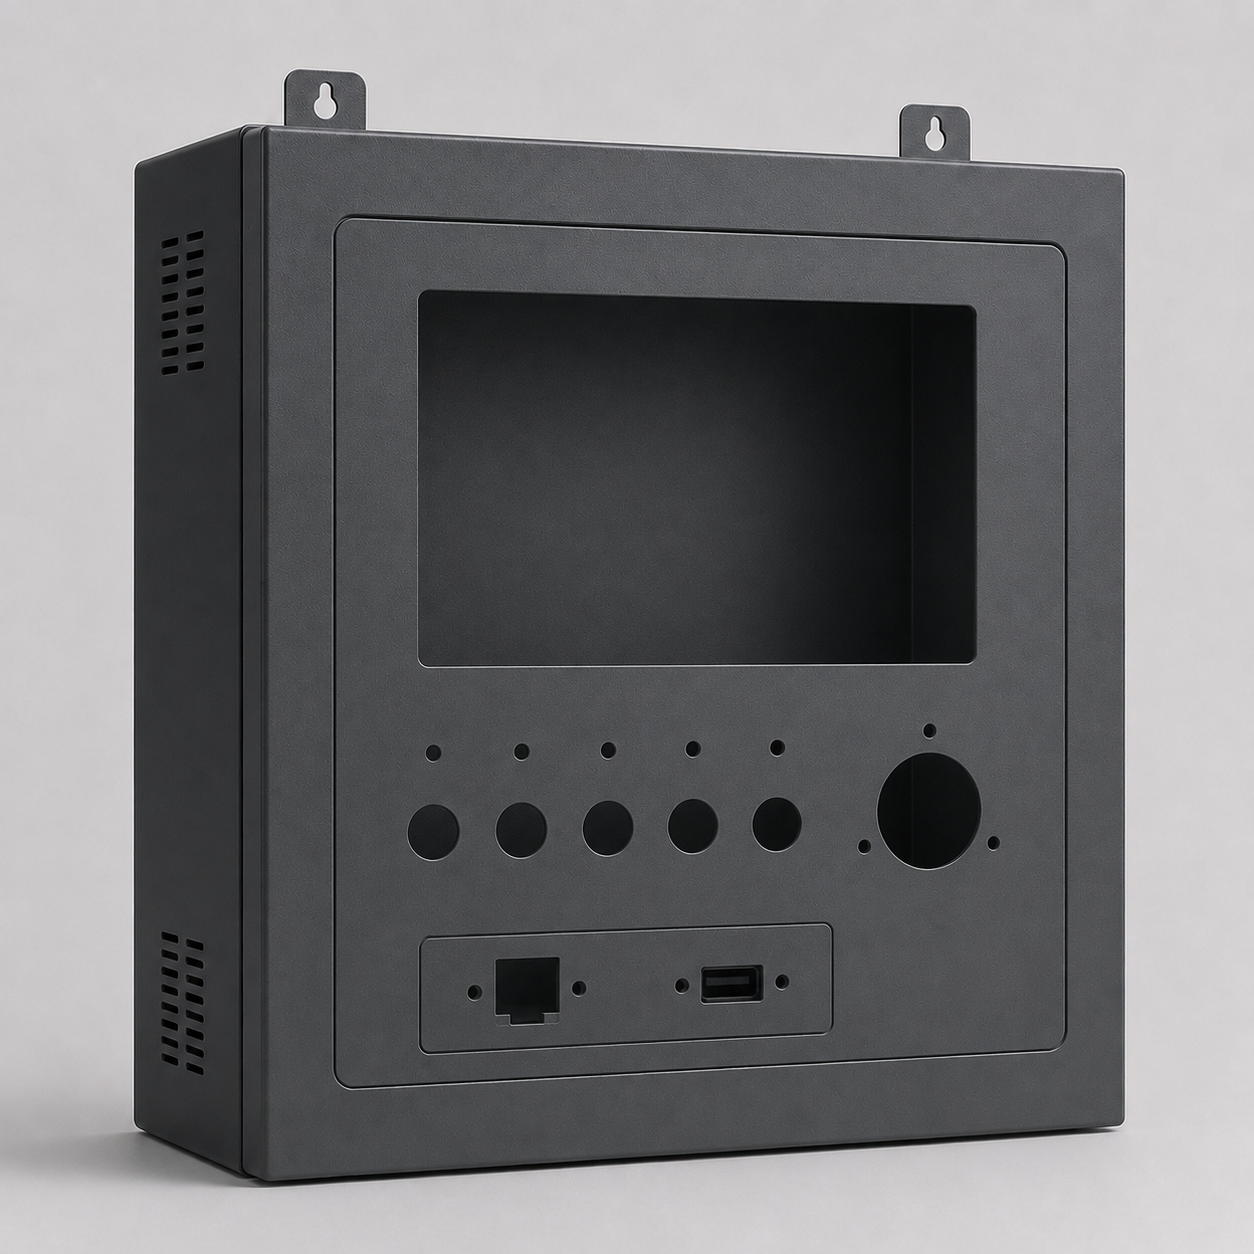
The case concerns a final cabinet for an industrial automation product. We worked on the full system packaging, created sketches and models, and developed the enclosure as a deep dark-gray painted aluminum housing produced by pressing and bending.

Client requestDevelop the final cabinet for an industrial automation device, define the system layout, and prepare a manufacturable aluminum enclosure with front-panel cutouts for the display, encoder, indicators, buttons, and selected interfaces.
Our roleOur team handled the design, system packaging, technical supervision, review, and testing. Manufacturing was performed by an external partner company.
  • We worked through the system composition, built sketches and 3D models, and defined the enclosure architecture and front-panel cutout logic.
  • We calculated and assembled the airflow model, selected ventilation power and vent placement, and refined the cabinet accordingly.
  • We selected the interface and HMI/HID concept, defined the screen, encoder, indicator, button, and interface openings, and provided technical supervision through production.
  • Some parts were prototyped on a 3D printer before the real aluminum version was produced by pressing and bending.
  • After production, we performed inspection, vibration testing, and assembled the equipment here on our side.
Material routePressed and bent aluminum parts, finished in gray paint.
CAD toolFreeCAD was used for the enclosure design and development work.
ResultFinal industrial cabinet with validated airflow, defined front-panel interface layout, tested mechanics, and controlled production follow-up.
Workflow summary: system packaging → sketches and 3D models → airflow calculations → interface/HMI definition → 3D-printed prototype parts → aluminum production → technical supervision → review, vibration test, and final assembly.
Photorealistic gray painted aluminum cabinet for industrial automation
Dark-gray painted aluminum cabinetFinal enclosure concept for industrial automation, with front-panel cutouts for the display, encoder, indicators, buttons, and interface ports, plus our airflow work, supervision, testing, and final assembly.
Case C4 · Factory adapter protection

Potted interface adapter

An interface-conversion adapter for factory use had to survive vibration, handling drops, humidity, warm enclosure conditions, and contact reliability risk.

Client requestProtect the compact adapter housing so it can operate reliably in a factory environment, not just on a clean bench.
Our roleAnalyze the housing, select the compound, define the potting route, pour the polyurea, and verify the cured result.
  • We selected a compliant two-component polyurea instead of a rigid potting block.
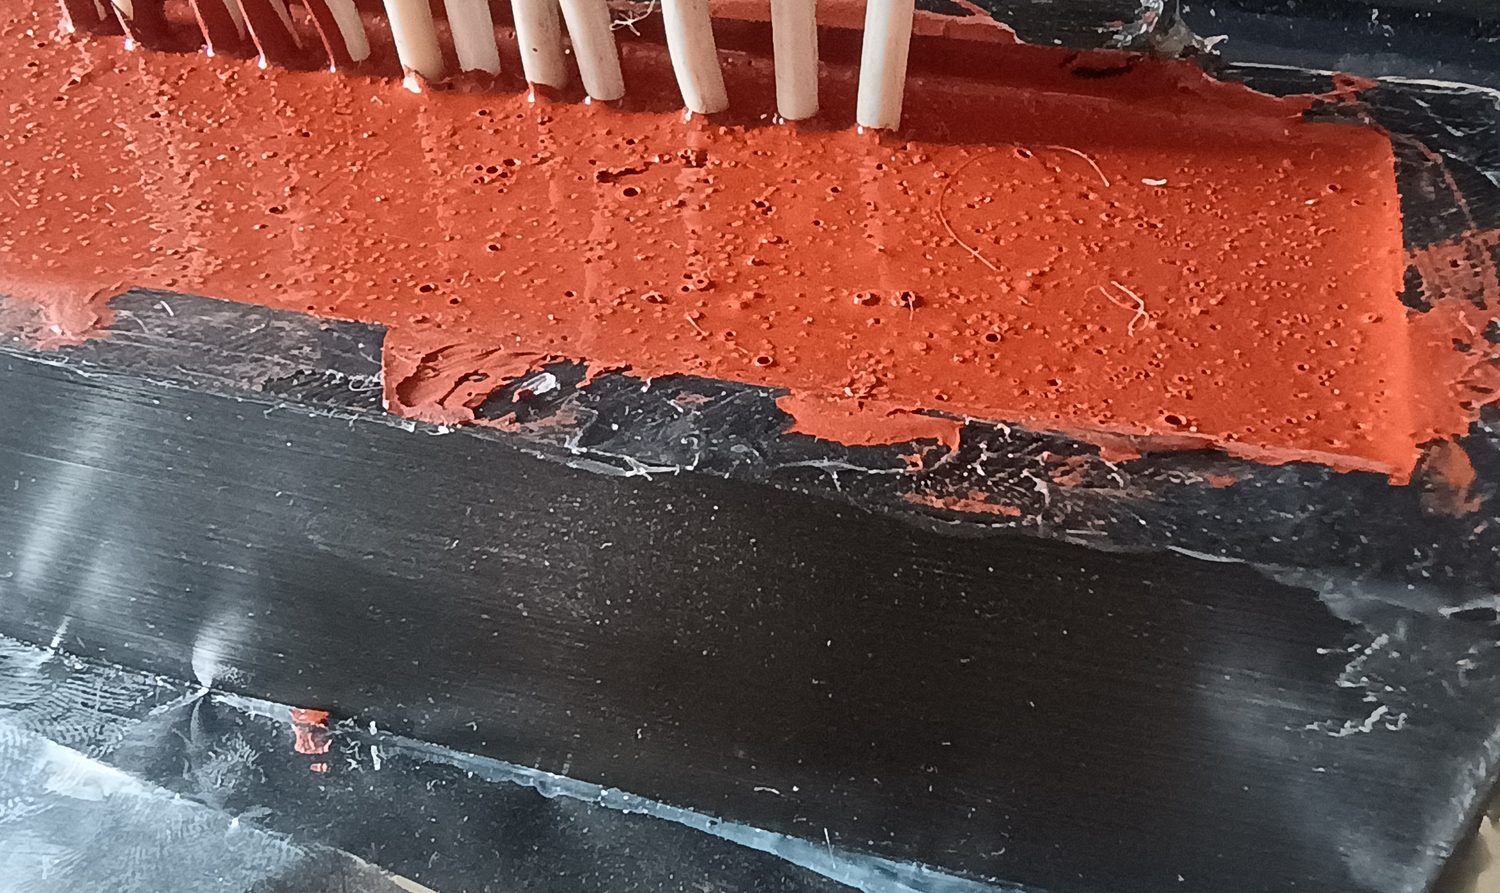
  • The compound was poured while low-viscosity, so it could flow around pins and into internal voids.
  • The cured gel supports the internals, seals moisture paths, and damps vibration without creating a brittle block.
  • The customer received the expected result for factory use and a repeatable route for similar housings.
EnvironmentVibration, drops, humidity, and warm operating conditions.
Material routePolyurea compound, cured as a compliant protective gel.
ResultPotted adapter housing with protected pins, filled voids, and customer-accepted outcome.
Workflow summary: housing assessment → compound selection → masking and preparation → low-viscosity pour → cure → visual and fit verification → customer acceptance. Open full case study →
Potted interface adapter housing filled with cured polyurea gel
Polyurea-potted adapter housingFactory-use interface adapter protected against vibration, handling shock, humidity, and warm operating conditions.
Mechanical tools

CAD toolchain

Tool choice depends on task maturity: quick parametric model, prototype, assembly, production drawing, or manufacturing support.

FreeCAD

Fast parametric models

Early geometry, fixtures, simple assemblies, 3D-print/CNC export, and low-cost iteration.

Autodesk Fusion

Prototype to manufacturing

CAD/CAM/CAE workflow for concept refinement, manufacturability checks, and prototype preparation.

SOLIDWORKS

Production-oriented CAD

Parts, assemblies, drawings, release packages, and mechanical documentation for engineering review.

Contact

Send a short mechanical context

Useful inputs: target equipment, available space, hardware interfaces, loads, environment, expected result, drawings or photos, and timing.

solution@contimech.org