ContiMech
Robotics & Automation Engineering

Workflow / Capabilities / Hardware engineering process

Hardware engineering · process deck

Hardware process deck

A practical board-to-product route: clarify the task, make the electrical architecture visible, prototype fast, measure, fix, and hand over buildable hardware evidence.

Slide 1 of 10 10%
Slide 01 · Overview

Route

Problem → requirements → electrical architecture → component strategy → schematic → PCB → prototype → measurements → fixes → release package.

InputBusiness goal, interfaces, power, load, environment.
LoopDesign, build, bring up, measure, correct.
OutputWorking board, evidence, documentation, next-revision plan.
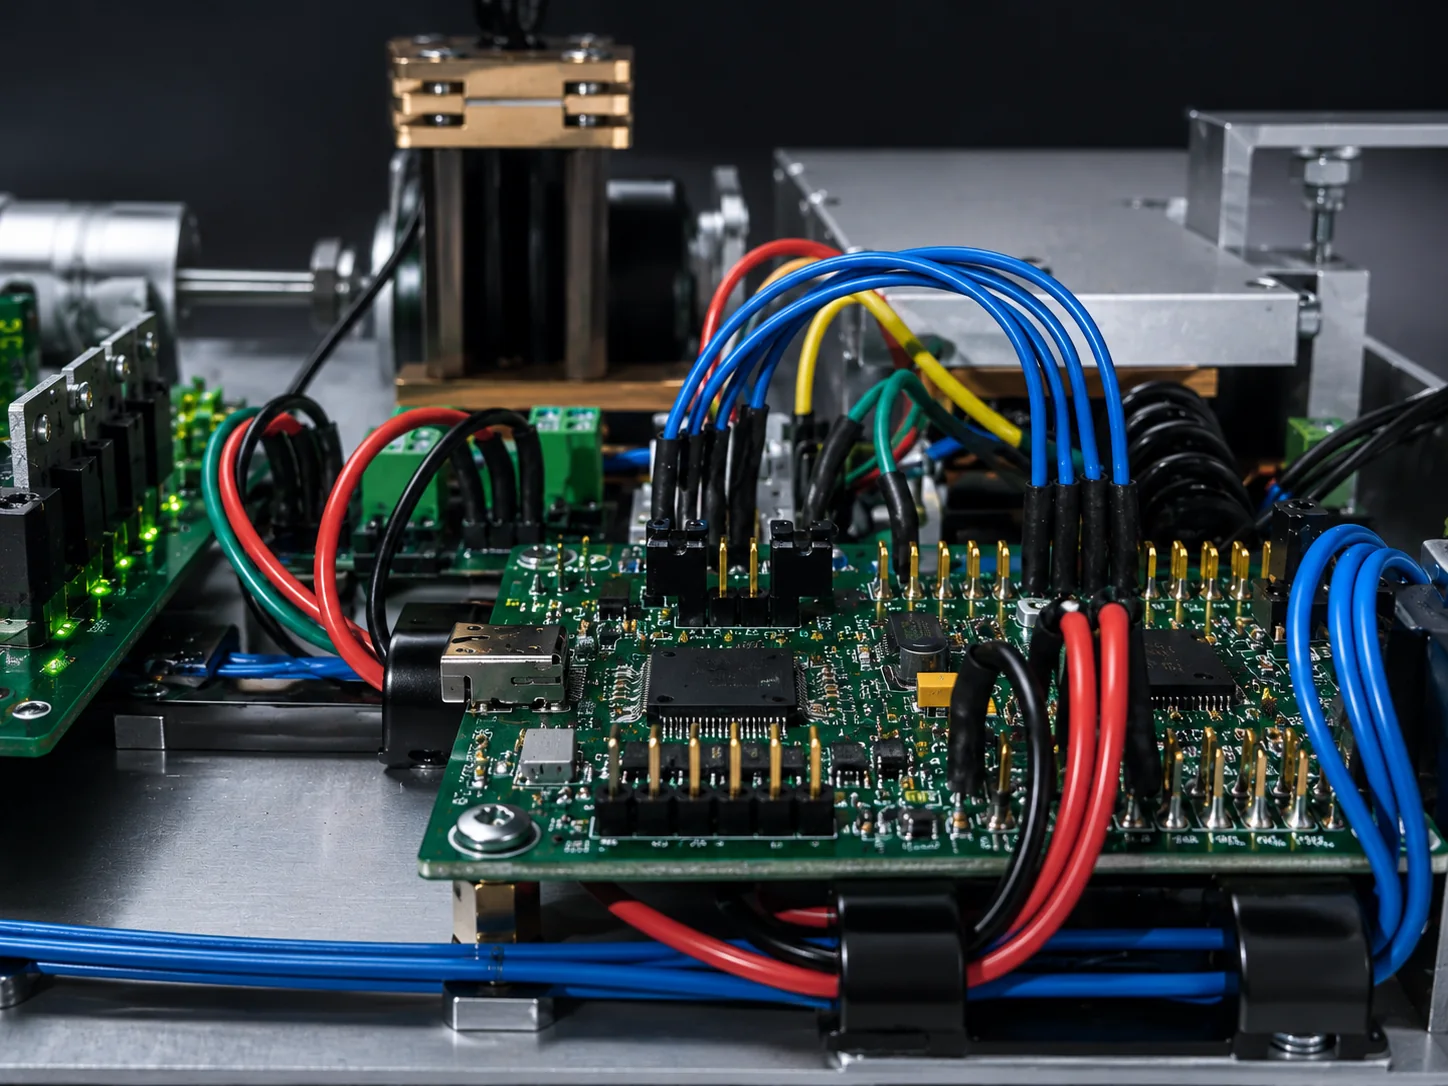
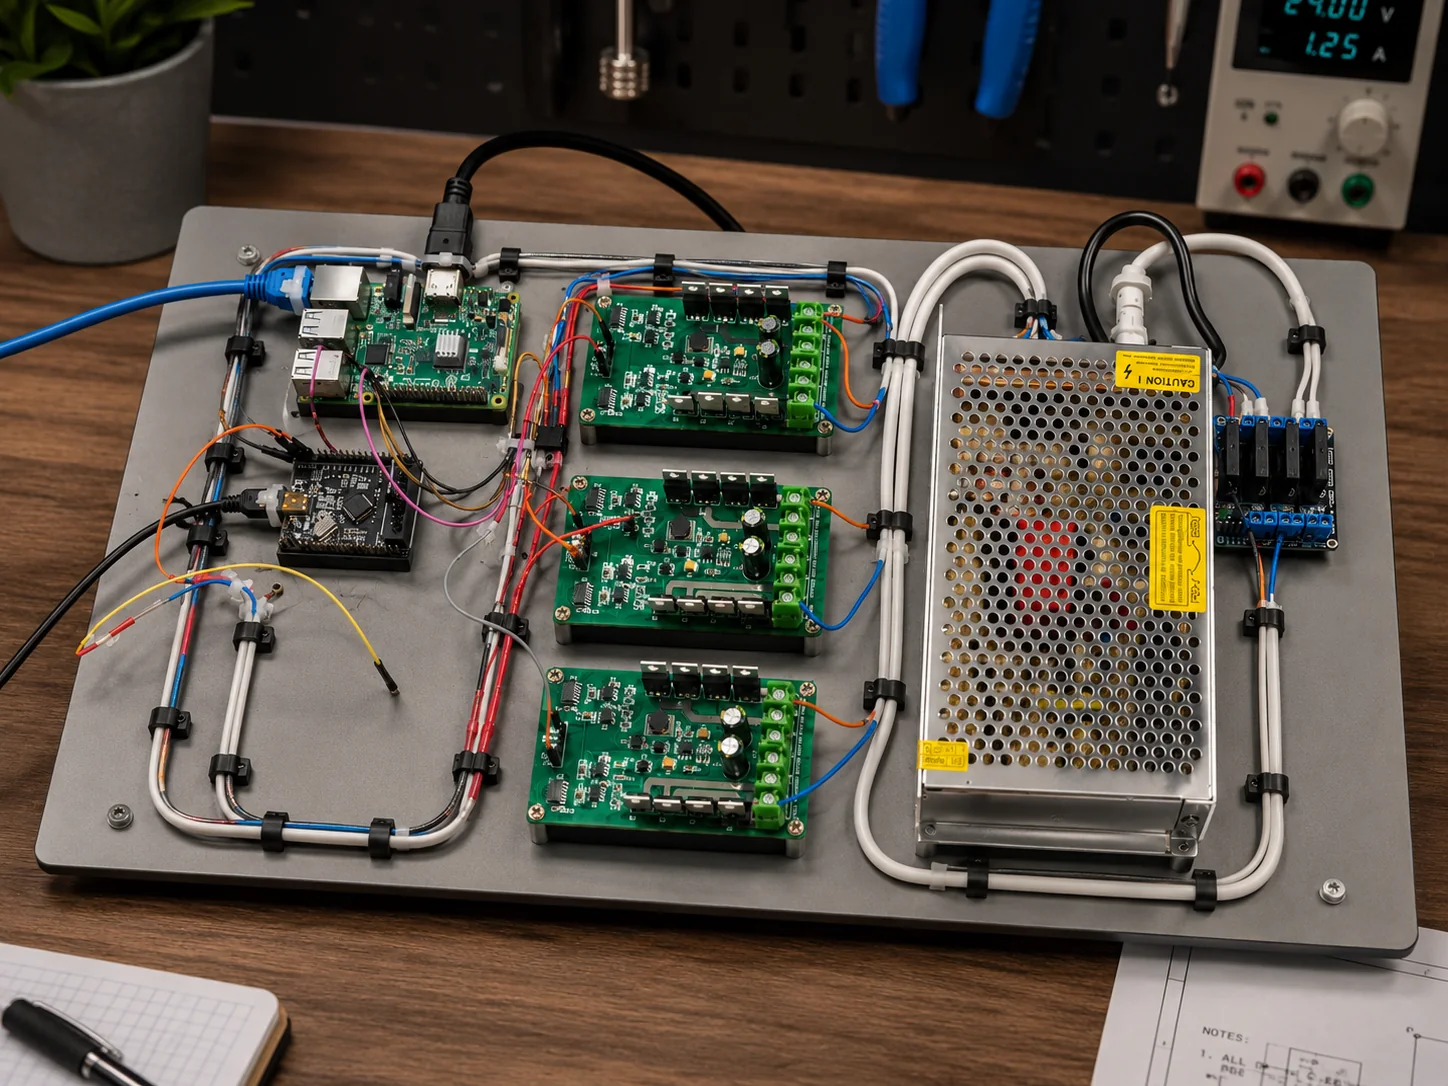
Hardware bench with populated PCB assemblies, wiring, and power electronics prepared for engineering validation
WorkflowHardware is a measured prototype loopWe combine board design, wiring, firmware hooks, lab checks, and release documentation as one engineering route.
Slide 02 · Definition

Business analysis and acceptance

We can start when the client has a problem, not a full specification. The first job is to make the result measurable.

Use caseFactory, lab, vehicle, robotic platform, or automated tester scenario.
LimitsVoltage, current, interfaces, timing, temperature, vibration, handling.
AcceptanceWhat must be measured before the hardware is considered ready.
  • Clarify the function before selecting chips or connectors.
  • Convert vague needs into electrical, mechanical, and testable criteria.
  • Keep cost and lead time visible from the first engineering step.
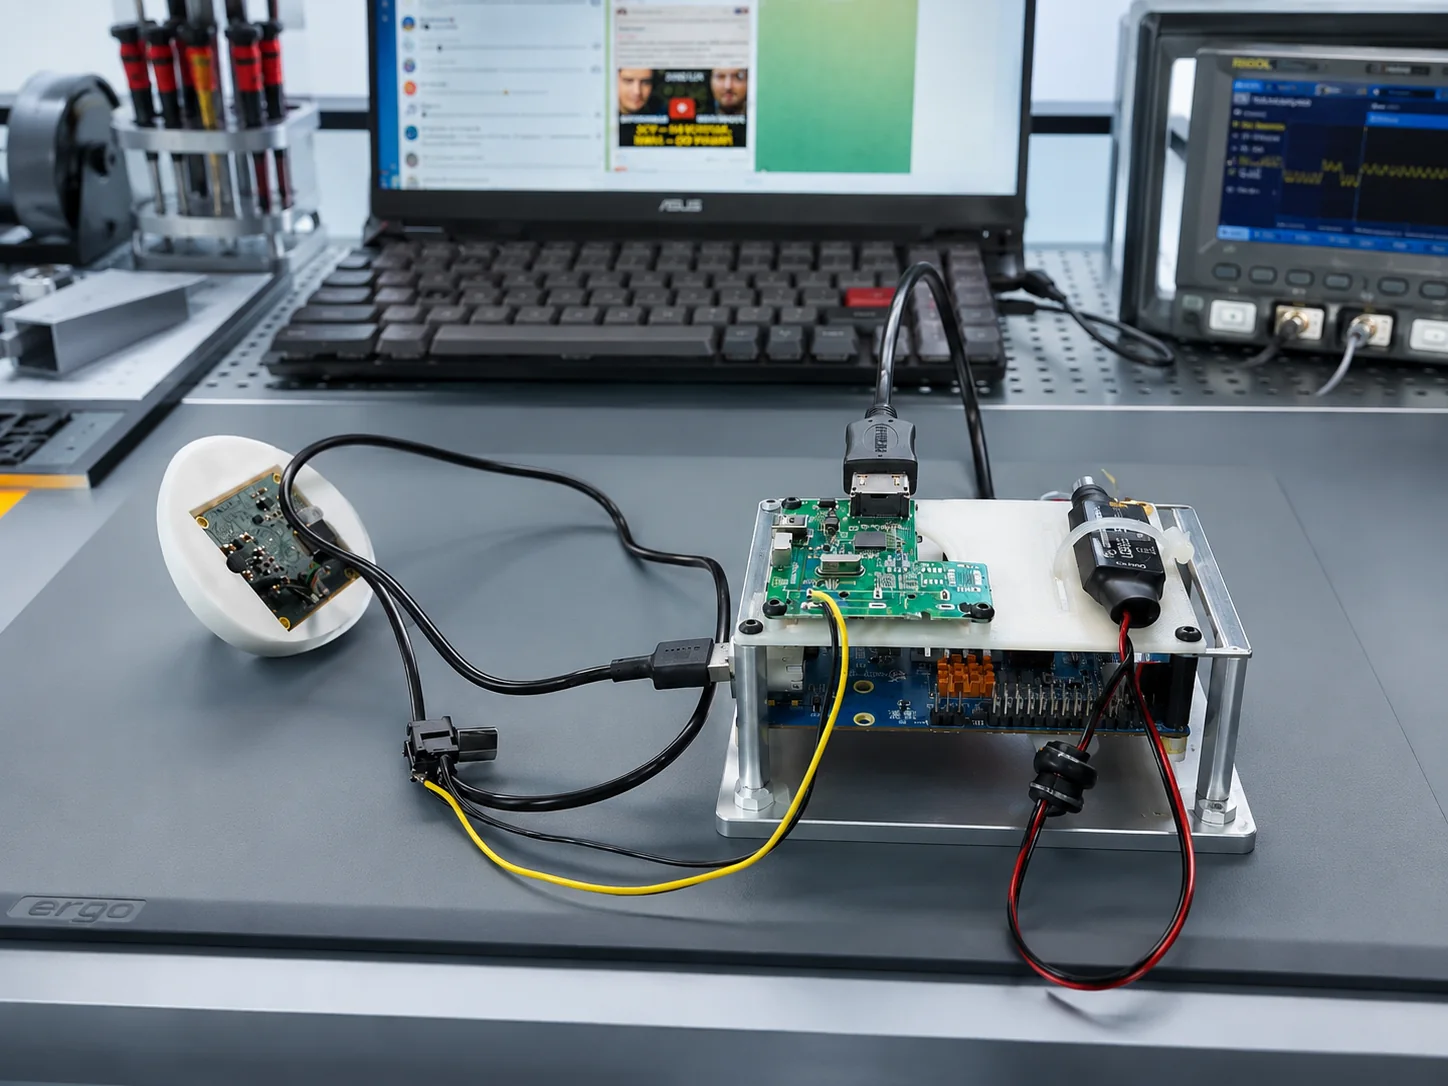
Electronic board on a laboratory bench connected to a laptop, oscilloscope probes, and power supply
Gate ATask is measurableBefore schematic work starts, the expected behavior, limits, and test method are clear.
Slide 03 · Definition

System boundary

Hardware decisions are aligned with mechanics, firmware, harnesses, test equipment, and the production route.

BoardPower domains, signals, protection, diagnostics, test points.
Outside boardConnectors, cable harnesses, enclosure, cooling, mounting.
VerificationInstrumentation, loads, logs, inspection, repeatability.
PCBHarnessCabinetFirmwareTest
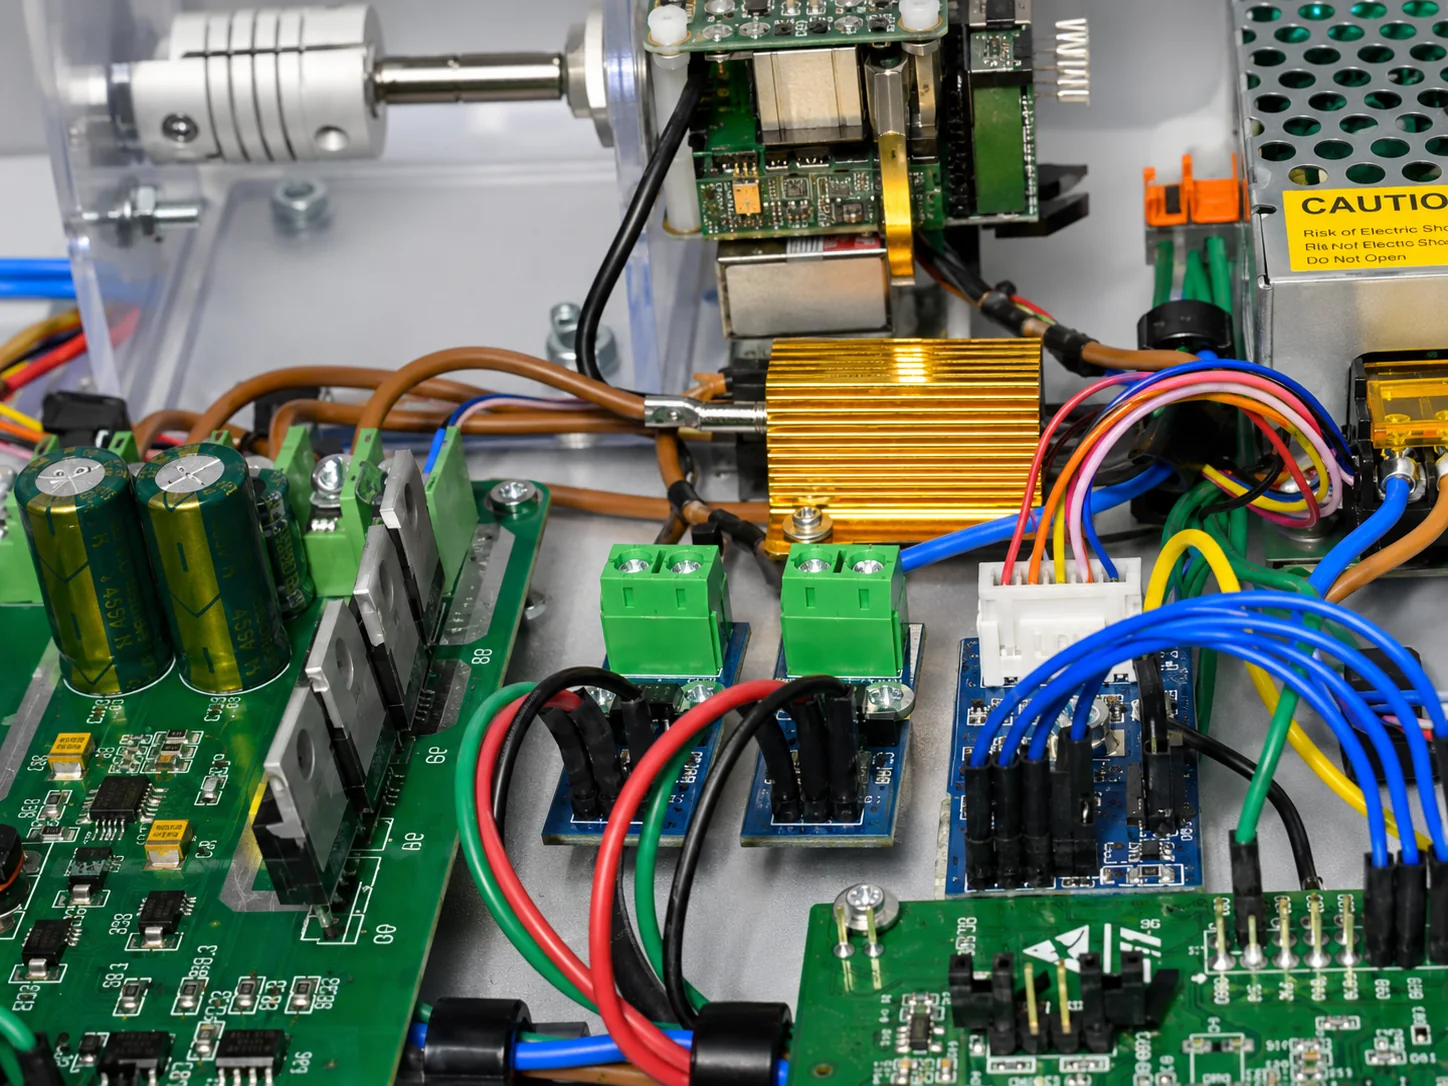
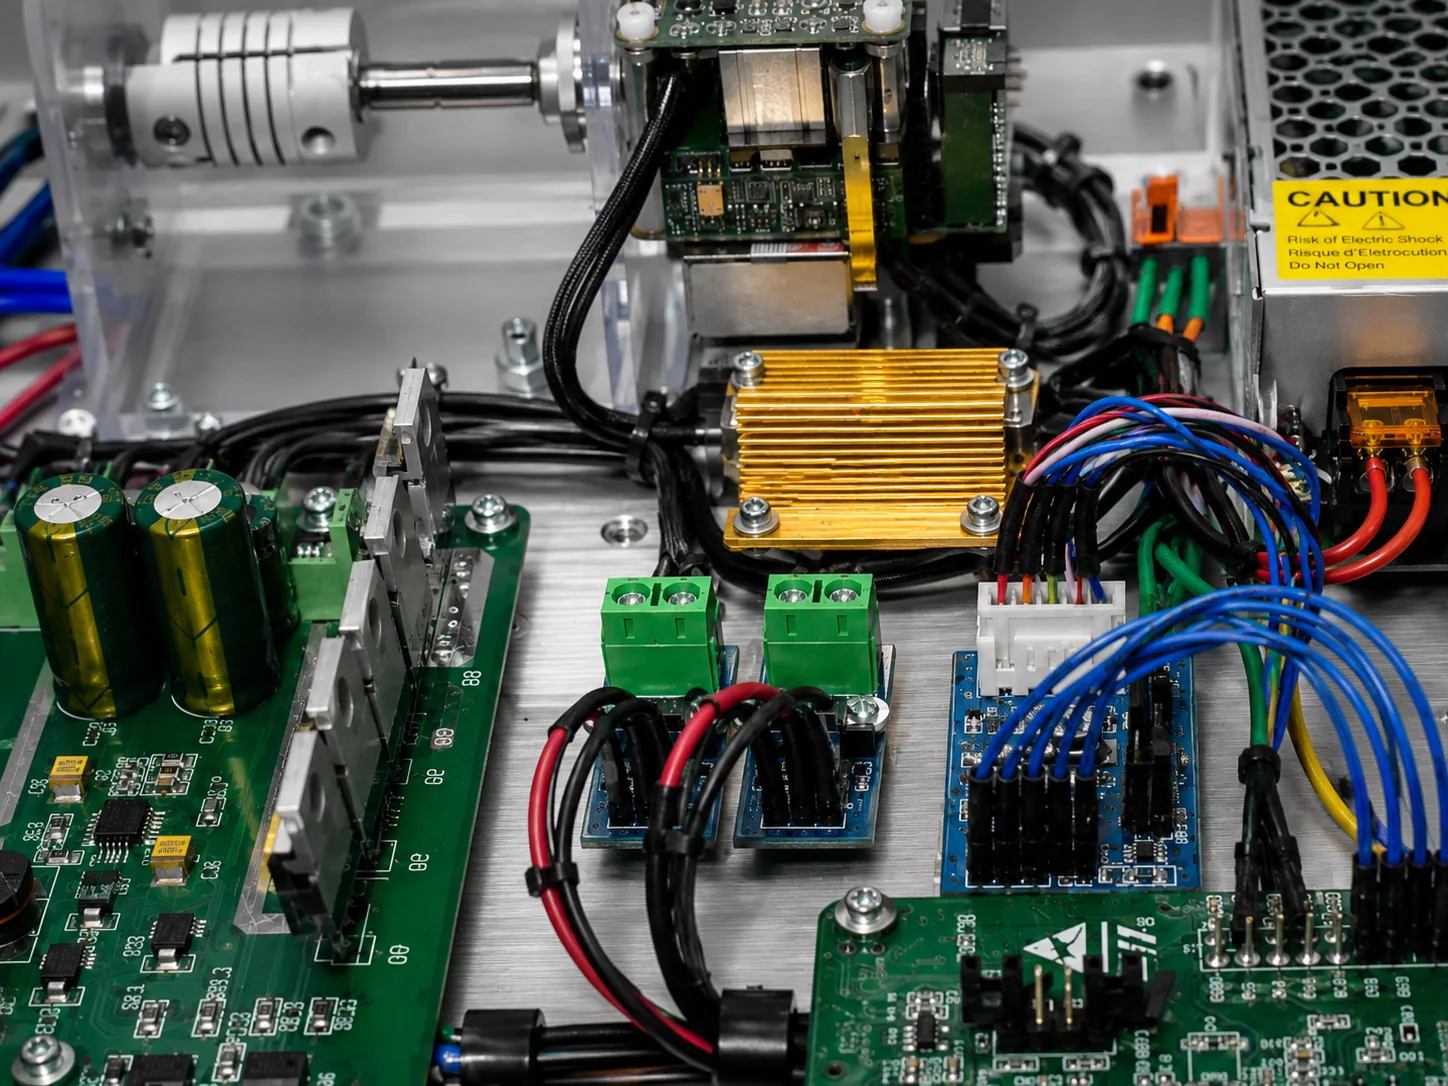
Dense electronic assembly with PCB modules, wiring, connectors, and power components
AlignmentBoard, enclosure, harness, firmware togetherConnector choice, cable routing, power limits, and debug access are treated as part of the same hardware task.
Slide 04 · Architecture

Electrical architecture

We make the future board reviewable before it becomes a schematic.

Power mapInput, conversion, protection, current paths, power budget.
Signal mapDigital, analog, CAN, debug, control, diagnostics.
Failure viewShorts, overloads, thermal points, wrong connection risks.
  • Block diagrams and interface maps in draw.io / diagrams.net.
  • Power, signal, connector, and cabinet boundaries shown explicitly.
  • Test points and firmware debug hooks planned early.
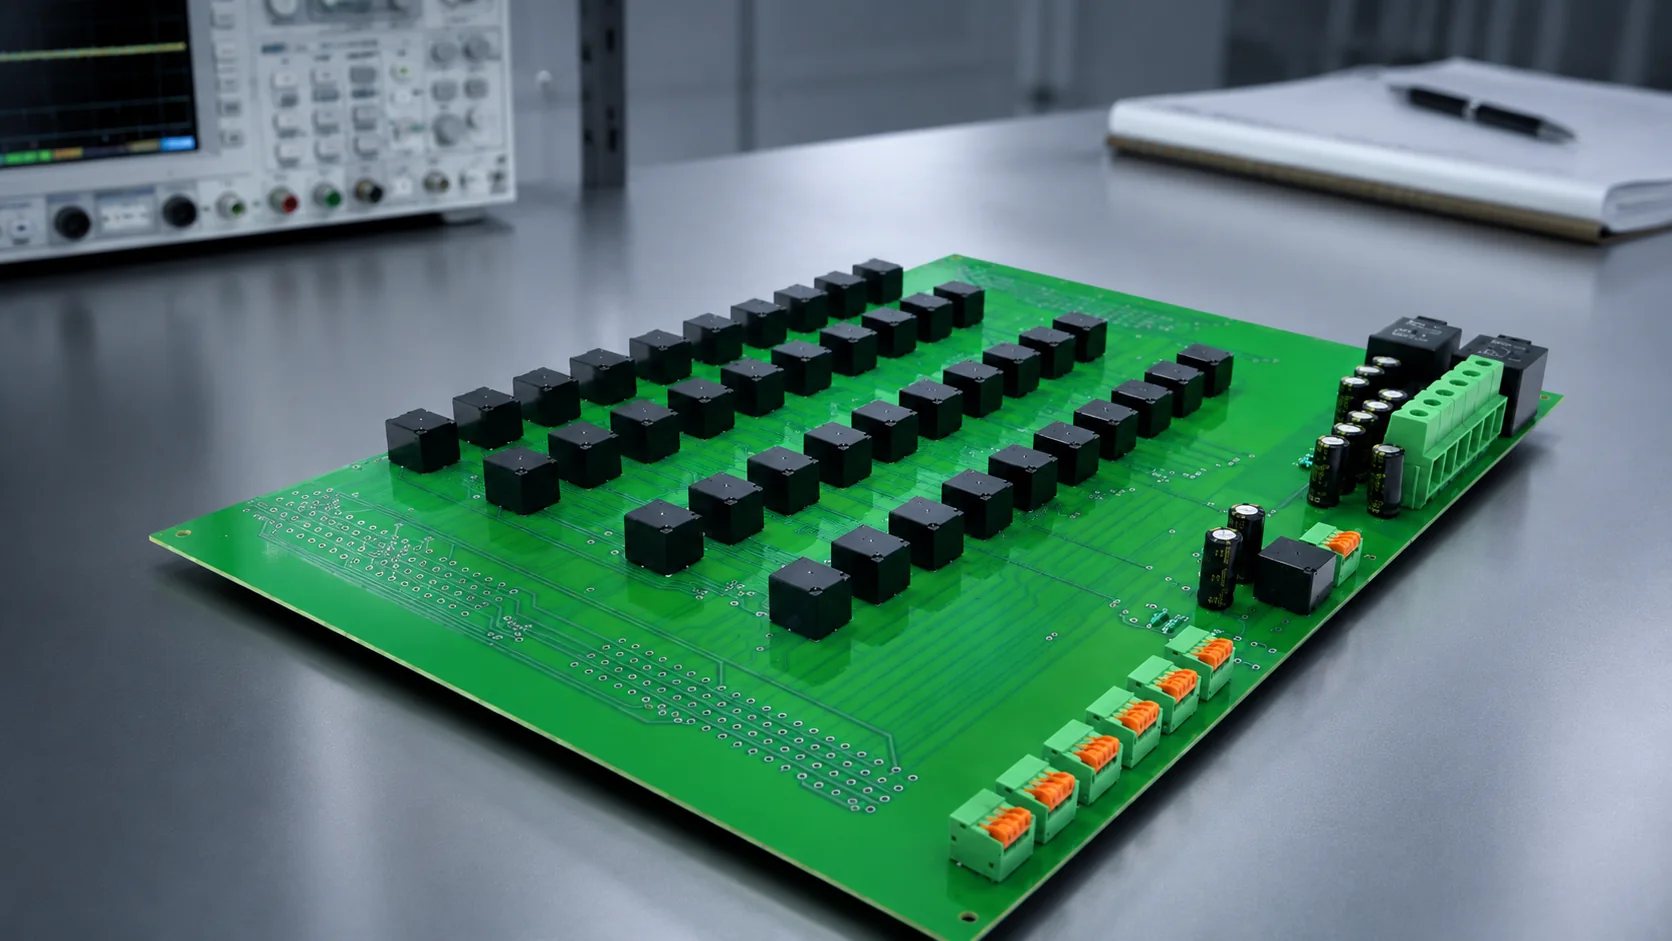
Green PCB with connector rows used to demonstrate board architecture and interface planning
ArchitectureInterface map before schematicA clear electrical architecture reduces PCB iterations and prevents hidden integration issues.
Slide 05 · Design

Component strategy

Part selection is not only a BOM action. It is a delivery risk, cost risk, and testability risk.

SelectionRatings, packages, thermal behavior, derating, availability.
AlternativesFunctional equivalents, faster supply options, second sources.
ProcurementLocal sourcing when possible, global suppliers for critical parts.
  • Critical parts get substitutes before the board is frozen.
  • Long lead-time items are visible before they block the release.
  • Components are selected together with the expected tests and rework path.
PCB assembly with multiple connectors, wires, and modules used for hardware component and interface checks
Gate BBOM must be buildableWe check availability, equivalents, ratings, thermal margin, and procurement route before manufacturing files are released.
Slide 06 · Design

Schematic and PCB package

The schematic and PCB are prepared as a manufacturing and testing package, not as isolated drawings.

SchematicFunctions, power, protection, interfaces, debug points.
PCBStack-up, copper, routing, clearance, connector placement.
OutputBOM, Gerber/ODB++, assembly files, drawings, notes.
  • Design rules reflect current paths, connectors, board size, and assembly limitations.
  • PCB layout is reviewed with mechanical and harness constraints.
  • Manufacturing files are checked before the order is placed.
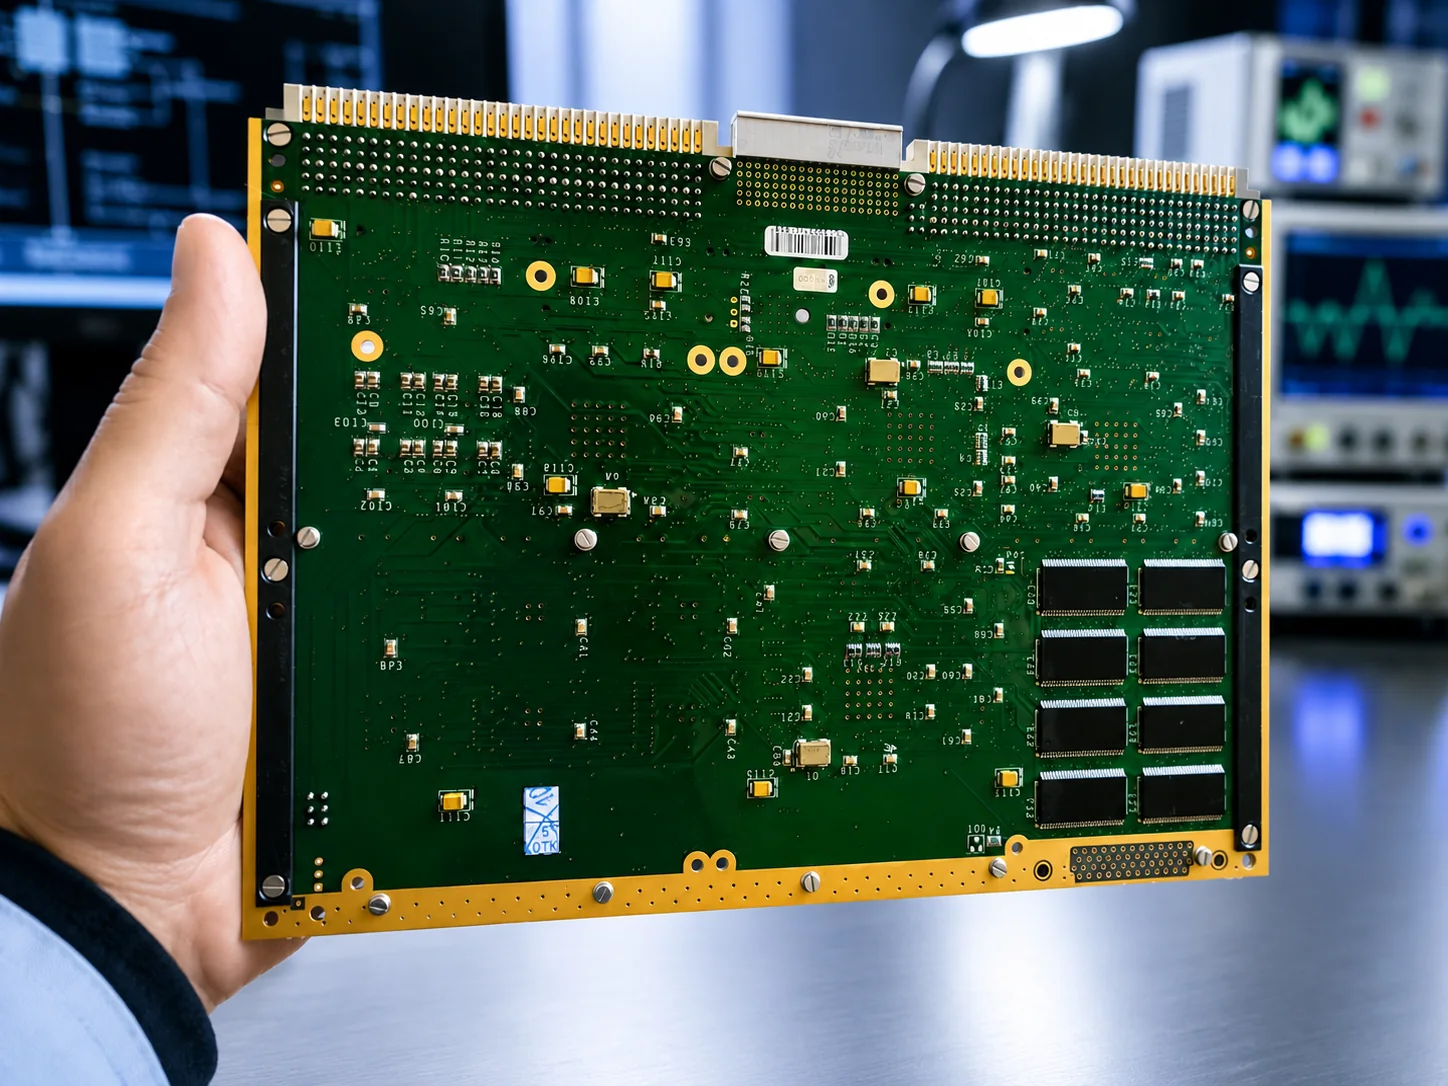
Engineer holding a populated PCB during hardware review and bring-up preparation
Design packagePCB files are release artifactsSchematics, layout, BOM, drawings, notes, and test assumptions move together.
Slide 07 · Prototype

Prototype build and bring-up

The first board is used to close the hardware reality loop as early as possible.

InspectionAssembly quality, polarity, soldering, connectors, shorts.
Power-upCurrent limit, rails, thermal observation, basic diagnostics.
IntegrationFirmware hooks, communication, loads, logs, test scripts.
  • Bring-up starts with controlled power and observable signals.
  • Debug interfaces and logs are used from the first integration step.
  • Measurements are saved as evidence, not only used as quick checks.
Hardware prototype with PCB, wiring, connectors, and bench instruments prepared for bring-up
PrototypeControlled bring-up before full loadWe power, inspect, flash, debug, measure, and integrate step by step.
Slide 08 · Prototype

Measurements and stress checks

Assumptions are replaced by measured behavior under realistic electrical and environmental conditions.

ElectricalOscilloscope, multimeter, logic analyzer, CAN/CAN FD tools.
LoadsLab power supplies, electronic loads, load banks, real consumers.
EnvironmentThermal camera, heating, vibration/drop context, humidity protection.
  • Voltage drops, heating, timing, noise, and communication are checked where risk is highest.
  • Thermal observations are linked to current paths and component ratings.
  • Hardware and firmware issues are separated by evidence, not by guesses.
Electronics prototype with power components, wiring, and measurement setup for load and thermal validation
EvidenceMeasure, do not assumePower rails, currents, temperatures, communication, and load behavior become part of the design evidence.
Slide 09 · Release

Fix loop and next revision

Prototype findings are converted into controlled corrections and a cleaner next release.

IssueRoot causeFixRetestRelease note
ReworkPatch wires, components, solder route, connector corrections.
Design updateSchematic, layout, BOM, drawings, test plan.
RetestSame measurement point repeated to prove the correction.
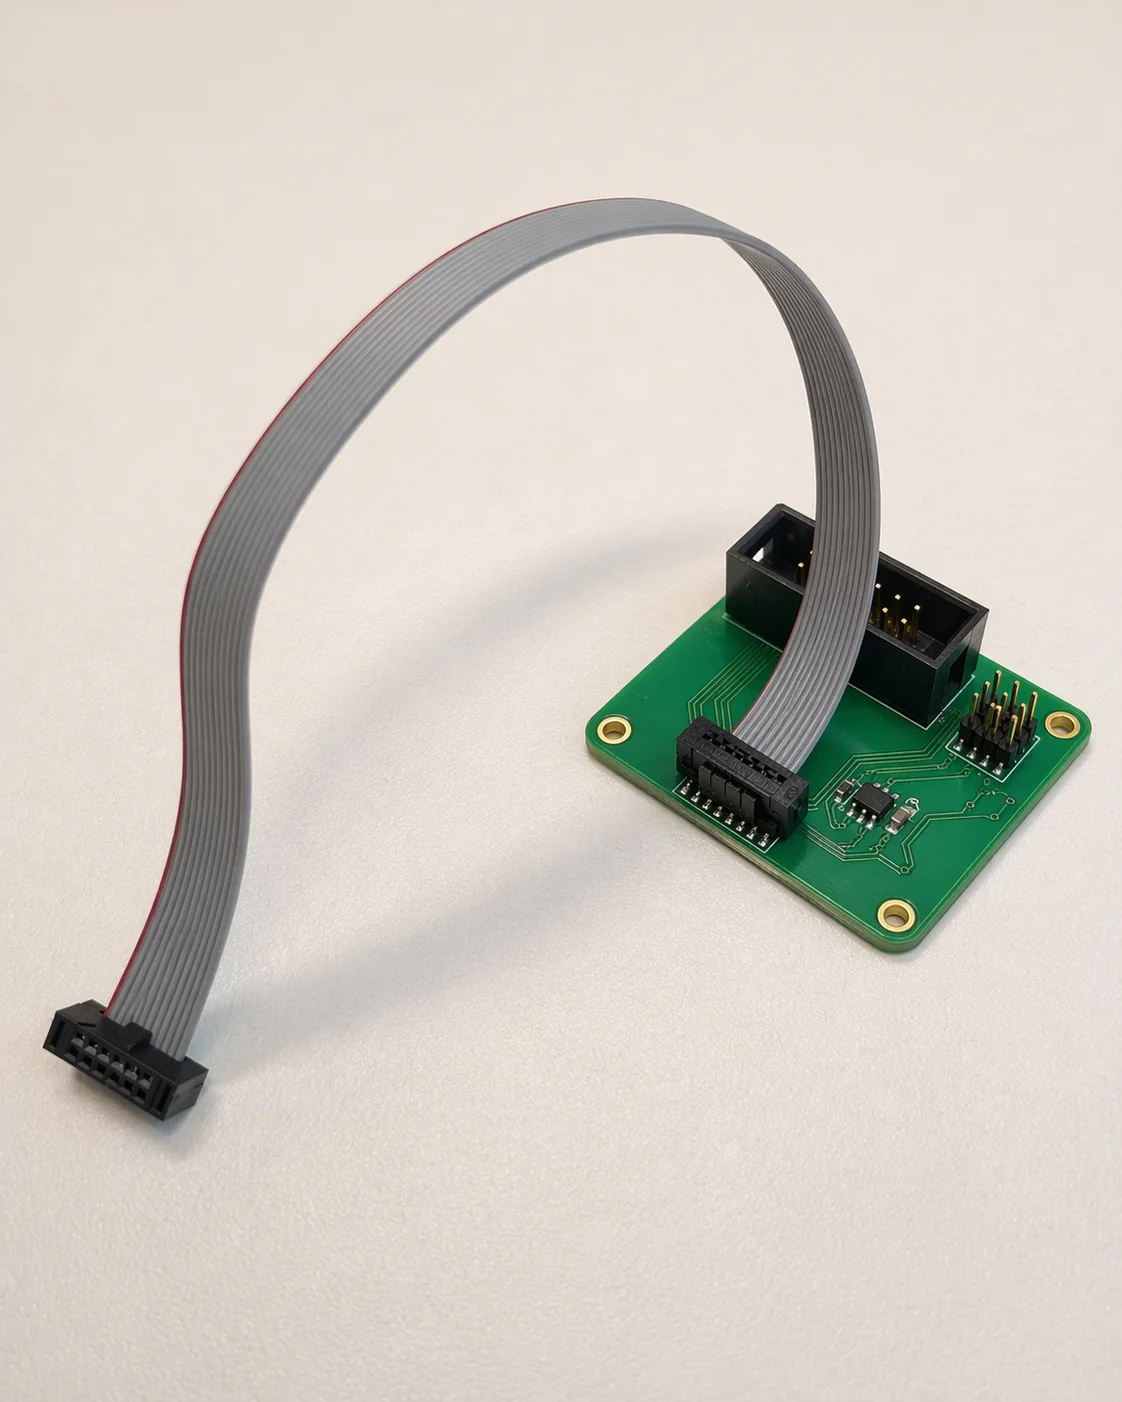
Small interface PCB with ribbon cable prepared for debug and integration correction
Correction gateEvery fix must close the loopRework is acceptable only when the root cause, design update, and retest evidence are captured.
Slide 10 · Release

Release and CE-ready handover

The output is not just a working PCB. It is a documented hardware package ready for client review, production preparation, and certification work.

Design dataSchematics, PCB files, BOM, drawings, assembly notes.
EvidenceTest plan, measurements, photos, issue list, fixes, reports.
Next stepKnown limits, risks, CE inputs, supplier notes, revision plan.
  • CE preparation starts from evidence and risk notes, not from paperwork at the end.
  • The client receives buildable data and the context behind key decisions.
  • The next revision already has a prioritized technical path.
Engineering handover document exchange representing release package delivery
Gate CHardware package, not only a boardDesign files, reports, measurements, risks, and next-revision notes are handed over together.
Case C1 · Board-to-cabinet prototype

Multi-channel industrial interface prototype

A factory-facing interface unit must route signals, protect electronics, survive real use, and remain serviceable. The challenge is not only PCB design: connectors, harnesses, enclosure, firmware hooks, loads, and measurement evidence must be engineered as one system.

Client needCompact hardware for controlled signal routing, protected interfaces, service access, and repeatable use in a production-line environment.
Our routeDefine interface groups, split the hardware into functional blocks, align connectors and harnesses, build a prototype, then validate it through electrical and integration tests.
  • Architecture and interface maps were prepared before board-level implementation.
  • Mechanical constraints, connector choices, and harness routing were included in hardware decisions.
  • The prototype was tested as a complete unit instead of a standalone PCB.
StrengthBoard + enclosure + harness + firmware thinking.
Risk reducedEarly visibility of connector, PCB, and integration constraints.
OutputHardware package with measurements, fixes, and release inputs.
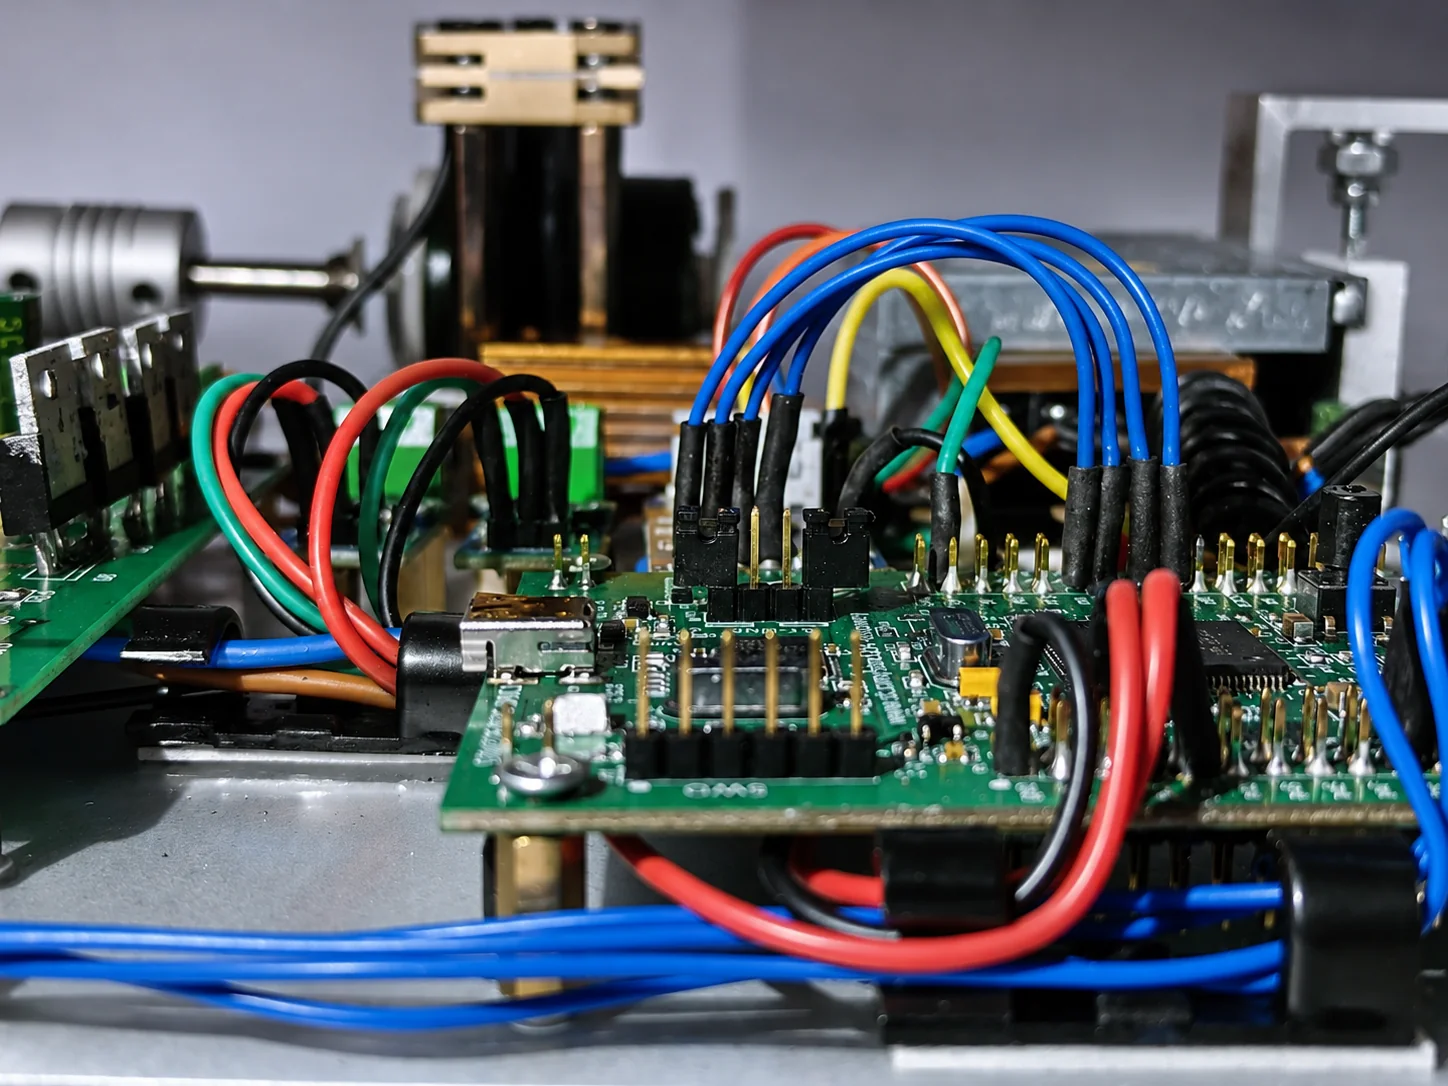
Industrial interface prototype with PCB assemblies and cabinet-level wiring
Industrial interface routePCB blocks, connectors, harnesses, firmware hooks, and enclosure integration treated as one system.
Case C2 · Measurement-driven fix

Low-current board thermal investigation

During validation, the low-current board behavior required thermal and electrical investigation. The goal was to find the root cause, keep testing moving, and define a controlled correction path.

ProblemComponents were stressed during temperature-related checks, and the team needed to separate design, component, and operating-condition factors.
ApproachUse measurements, thermal observation, controlled rework, and repeated tests instead of speculative replacement.
  • Voltage drop, current path, heat generation, and component operating limits were analyzed together.
  • Rework and component replacement were handled as controlled engineering actions.
  • The finding was converted into a board update and high-priority issue path.
ToolsPower supplies, meters, scopes, thermal camera, load setup.
DecisionMeasurement-based correction instead of guessing.
BenefitShorter path to a verified next release.
Populated green PCB used for low-current hardware validation and thermal investigation
Thermal and electrical evidenceIssue analysis connected measurements, component limits, rework actions, and next board revision.
Case C3 · Hardware protection in factory use

Factory interface adapter protection

An interface conversion adapter used at a factory needed protection against vibration, drops, humidity, and warm operating conditions. The solution combined hardware packaging and mechanical protection.

Client needProtect a small adapter housing without making the device fragile, bulky, or difficult to reproduce.
Our routeAssess the housing, select a suitable compound, prepare the adapter, fill internal voids, cure, inspect, and hand over a repeatable route.
  • Electrical hardware, housing geometry, and environmental stress were treated as one problem.
  • The compound was selected to support and seal the internals without creating a brittle block.
  • The customer received the expected factory-use result.
EnvironmentVibration, handling shock, humidity, heat.
MaterialPolyurea potting compound.
ResultProtected adapter housing and repeatable process.
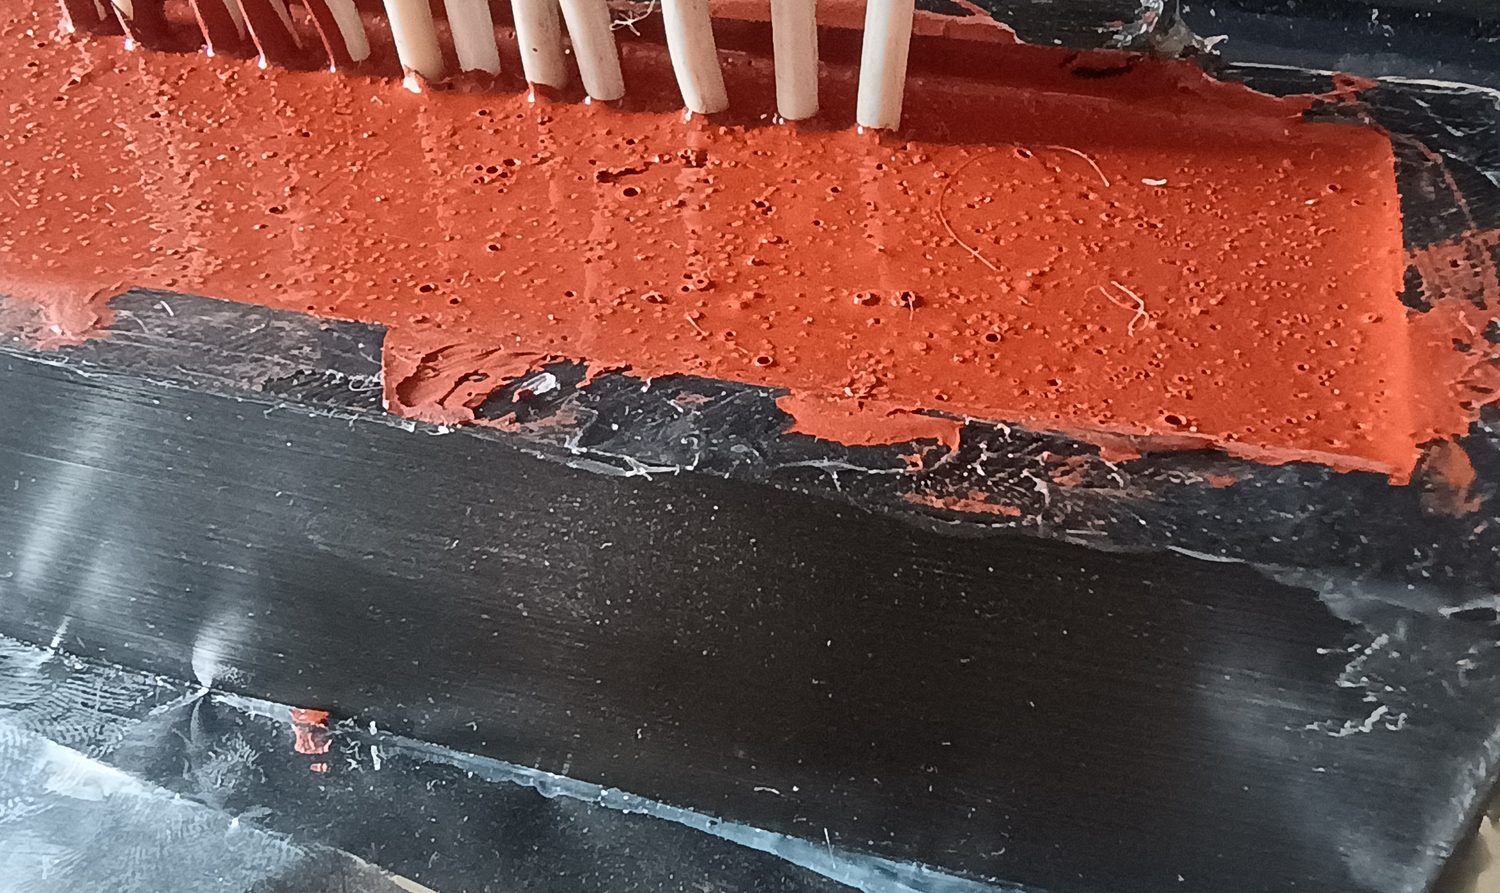
Potted interface adapter housing filled with protective compound
Factory-use interface adapterHardware protection closed through compound selection, filling, cure, inspection, and customer acceptance.
Hardware lab

What we use to close the loop

The hardware process is practical: components, boards, instruments, loads, firmware hooks, and release evidence are handled together.

Design

Architecture and PCB

draw.io / diagrams.net, Altium Designer, Siemens Xpedition, schematic review, PCB layout, BOM, and manufacturing outputs.

Bring-up

Power and debug

Laboratory DC power supplies, current-limited power-up, JTAG/SWD tools, firmware logs, basic diagnostics, and board inspection.

Measurement

Signals and thermal

Oscilloscopes, digital multimeters, logic analyzers, thermal imaging cameras, CAN/CAN FD interfaces, and controlled measurements.

Validation

Loads and evidence

Electronic loads, load banks, real consumers, test reports, issue lists, rework notes, retest evidence, and release documentation.

Hardware tools

Diagram, schematic, and PCB toolchain

Tools are selected by task maturity: early architecture, schematic capture, PCB routing, manufacturing files, or enterprise-level electronics workflow.

draw.io / diagrams.net

Structural diagrams

Block diagrams, signal maps, interface schemes, process flows, and review-ready architecture sketches.
Altium Designer

Schematic and PCB design

Schematics, PCB routing, design rules, BOM, manufacturing outputs, and board-level review packages.

Siemens Xpedition

Complex PCB workflows

Enterprise electronics flow from system definition to PCB design and manufacturing-oriented outputs.

Contact

Send a short hardware context

Useful inputs: business goal, expected function, interfaces, voltage/current ranges, environment, existing schematics or photos, BOM constraints, mechanical limitations, target standards, and test expectations.

solution@contimech.org